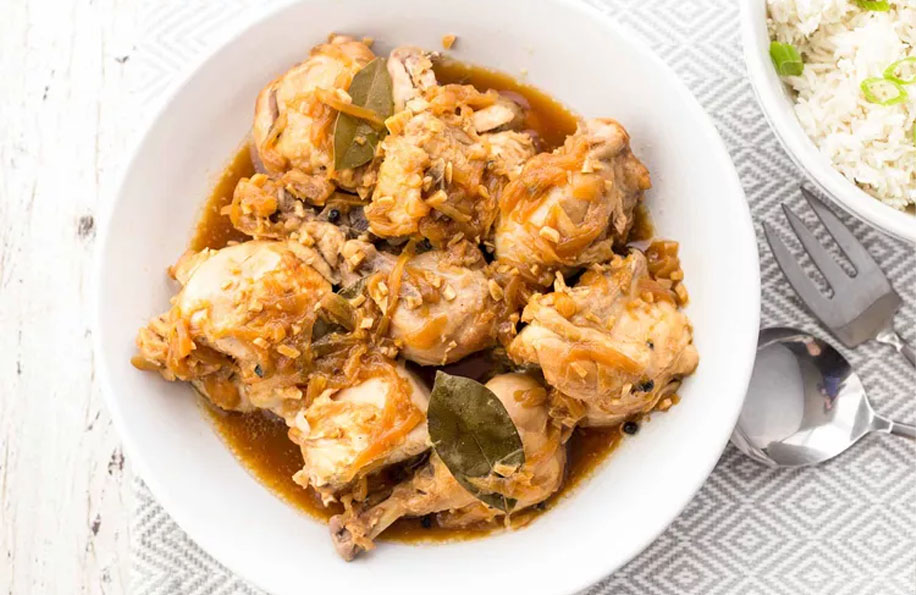
This pressure cooker Chicken Adobo and Rice has everything going for it: it’s fast, it’s tasty, and everything cooks together in the same pot!
RELATED: Chicken Alfredo Pizza | Learn Recipe 2023
TABLE OF CONTENTS
●Igredients
●Instructions
●Serve
Ingredients
●3 to 3 1/2 pounds bone-in, skin-on chicken legs and thighs (or 1 1/2 to 2 pounds boneless skinless chicken thighs)
●1 medium yellow onion, sliced
●4 cloves garlic, chopped
●1/3 cup soy sauce (use low sodium soy sauce for less salt, or tamari for gluten-free)
●3 tablespoons white vinegar (or rice vinegar for a milder flavor)
●1 tablespoon brown sugar
●1 teaspoon black peppercorns
●3 dried bay leaves
●1 1/2 cups long-grain white rice
●1 1/2 cups water
●Thinly sliced green onions, to garnish the rice (optional)
Method
1.Combine the chicken and sauce ingredients in the pressure cooker:
Stir or use your hands to evenly coat the chicken pieces in the sauce.
Nestle a raised steam rack in with the chicken pieces, making sure all of its legs are touching the bottom of the pot.
2.Rinse the rice:
Rinse the rice in a wire mesh strainer, let it drain for a minute or so, then combine it with the 1 1/2 cups of water in a small (1 1/2-quart) stainless steel mixing bowl.
Place the bowl of rice and water on top of the steam rack in the pot. It should just fit inside the pot, so it will not touch the lid when the pot is closed.
3.Cook the chicken and rice:
Place the lid on the pressure cooker. Make sure the pressure regulator is set to the “Sealing” position. If you are using an Instant Pot, select the “Poultry” or “Manual” program, then adjust the time to 15 minutes. If your pressure cooker does not have a “Poultry” program, set it manually to “High Pressure” for 15 minutes. For stovetop pressure cookers, cook for 12 minutes at high pressure.
It will take about 20 minutes for your pressure cooker to come up to pressure, and then the actual cooking will begin. Total time from the time you seal the pressure cooker to the finished dish is about 45 minutes (including a 10-minute natural pressure release).
4.Release the pressure:
When the cooking program ends, let the pressure release naturally for at least 10 minutes, then perform a quick pressure release by moving the pressure release knob from “Sealing” to “Venting.”
5.Fluff the rice:
Wearing a pair of heat-proof mitts, remove the bowl of rice and the steam rack from the pot. Fluff the rice with a fork.
6.Check the temperature of the chicken:
Use an instant read thermometer to take the temperature of a piece of chicken at its thickest part. It should read at least 165°F.
If the chicken isn’t 165°F yet, reset the pressure cooker and select the “Poultry” or “Manual” setting for another minute or two. It will take much less time to come up to pressure the second time since the food is already hot.
7.Finish the sauce and serve:
Transfer the chicken to a serving dish.
If you’d like, you can reduce the sauce to concentrate the flavor using your pressure cooker’s “Sauté” setting for 15 minutes.
Strain the sauce to catch the bay leaves, peppercorns, and any bones that might have fallen from the chicken. If you prefer a less fatty sauce, use a fat separator to separate the sauce and the fat, or wait for the fat to float to the top and then skim it off.
Drizzle some of the sauce over the chicken and serve the rest alongside.

